Quickstart: your first flow
Build and run a working AI flow in minutes — chat input, an LLM agent and a chat output, then publish it as a shareable chat.
In this guide you'll build the simplest useful flow: a public AI chat. It's the same pattern HiveFlow uses under the hood for Agents.
1. Create the flow
Go to Flows and click + New Flow. The canvas editor opens. (Prefer natural language? Ask Genius to "create a customer support chat flow" and it will build these same nodes for you.)
2. Add three nodes
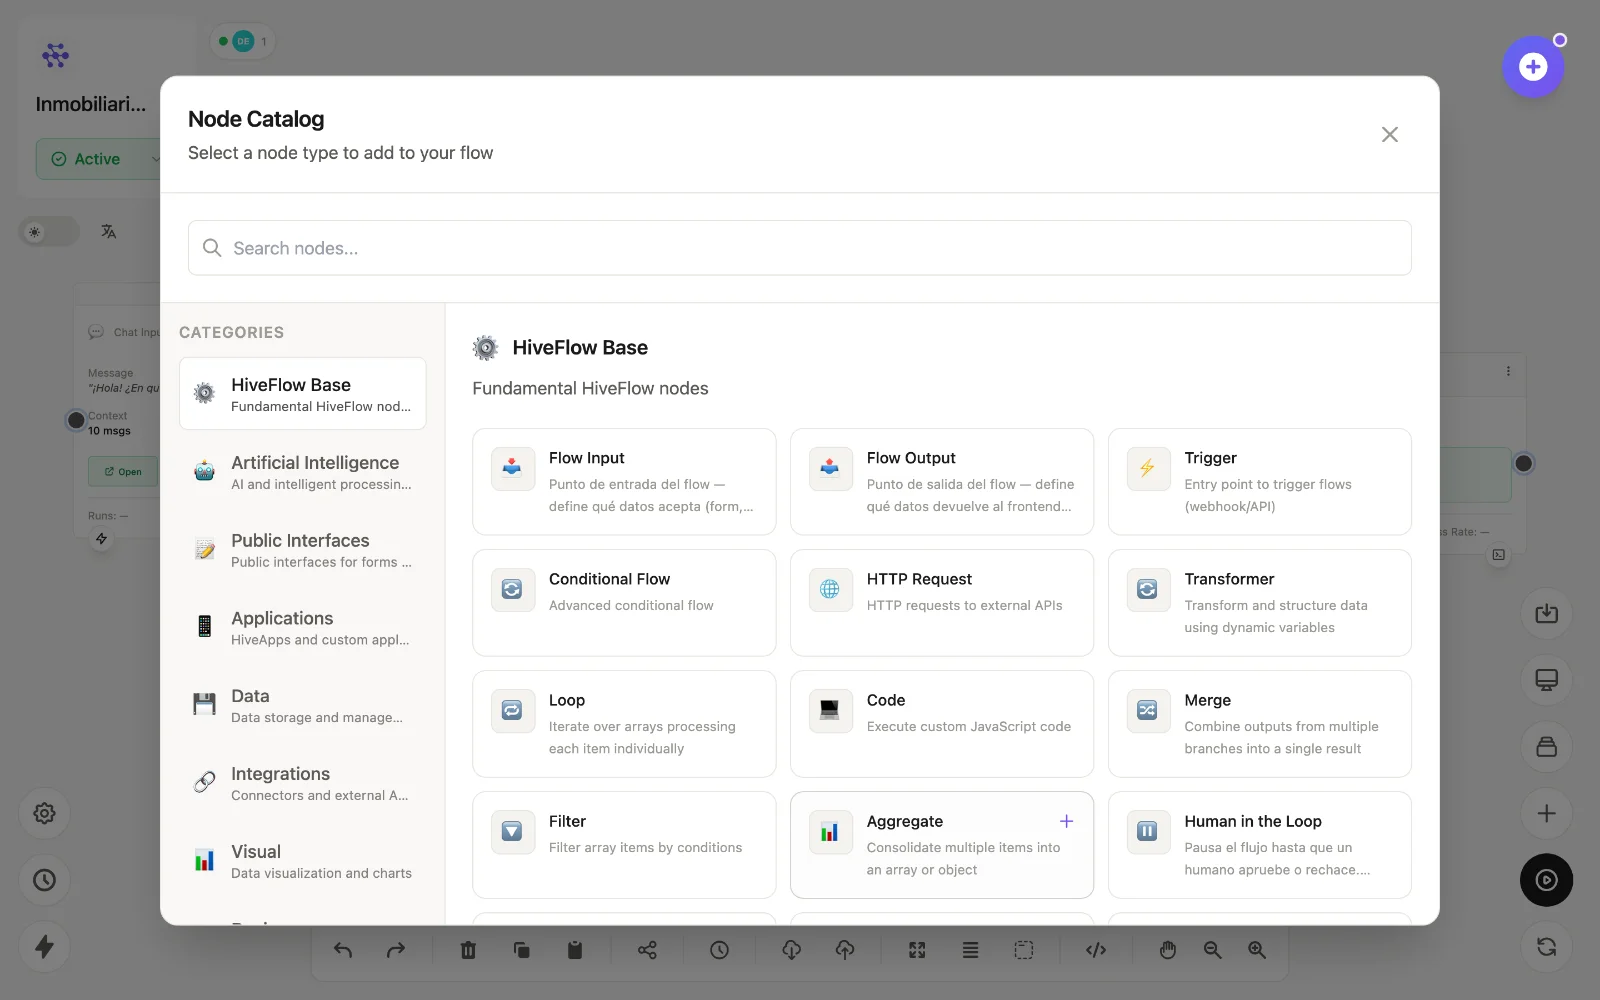
Click Add Node (the ✚ button at the top right of the canvas) to open the Node Catalog, and add:
- Chat Input (Public Interfaces) — the public chat where users write.
- LLM Agent (Artificial Intelligence) — the brain of the flow.
- Chat Output (Public Interfaces) — sends the answer back to the chat.
3. Connect and configure
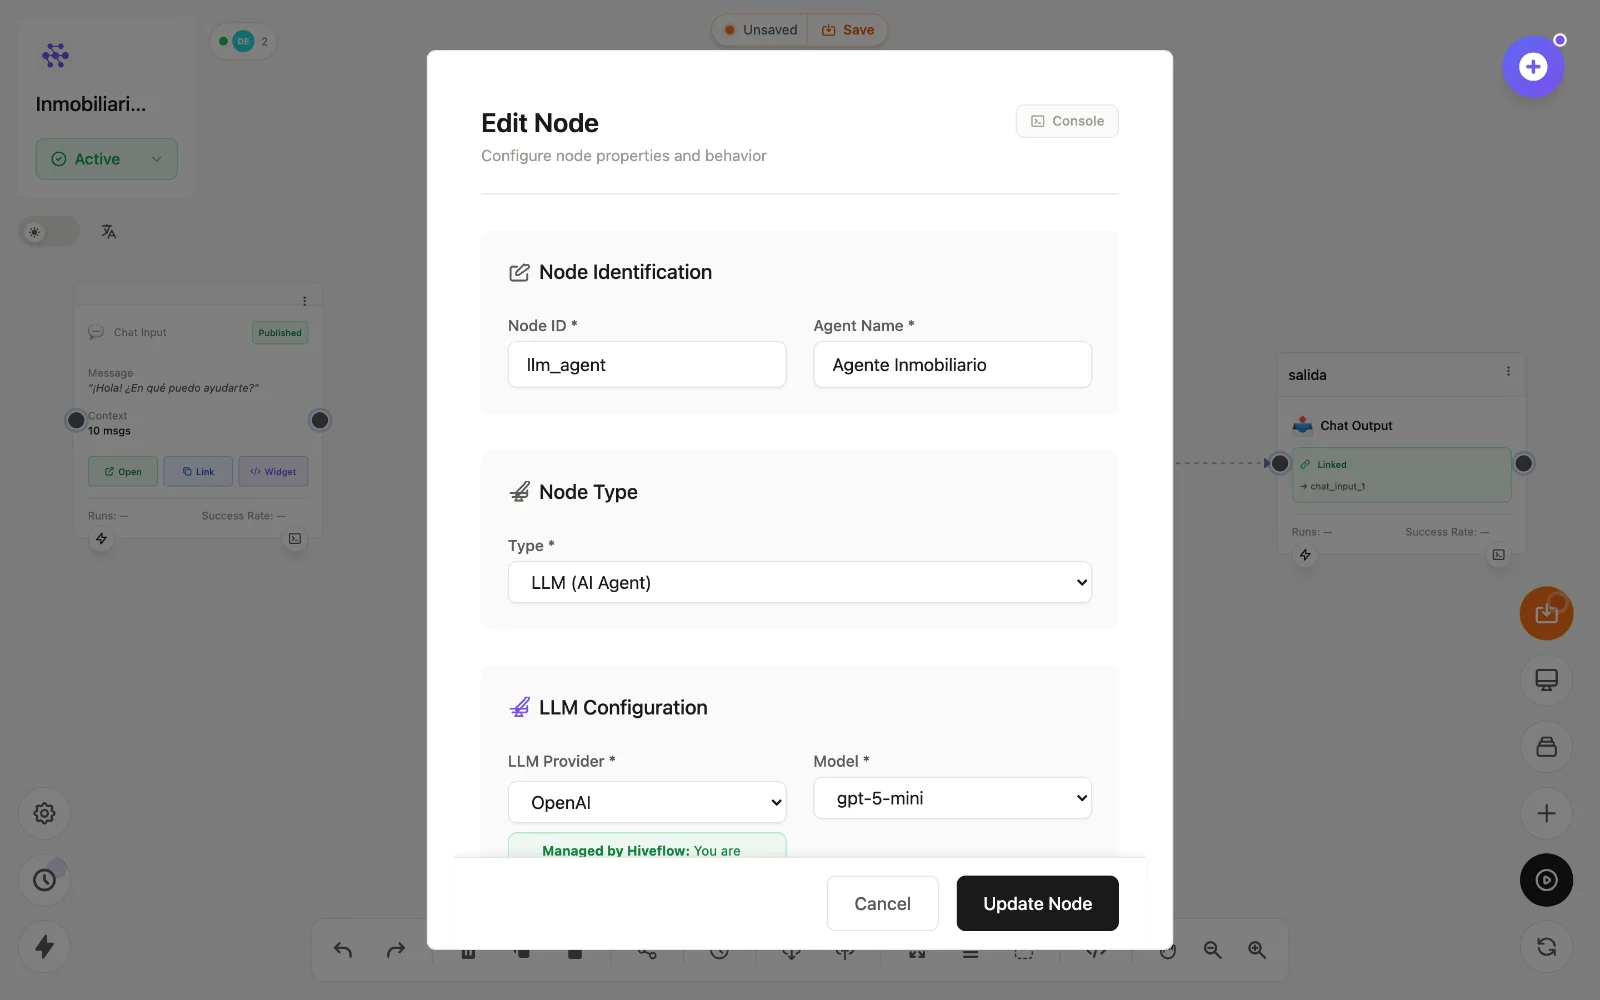
Drag from the right handle of Chat Input to LLM Agent, and from LLM Agent to Chat Output. Then double-click the LLM node to configure it: pick a provider and model (managed by HiveFlow, no API key needed), and write the agent's objective — who it is and how it should answer.
4. Save and run
Click Save flow, then Process Flow to execute it. Each node shows its run state, and the Console button on any node shows its inputs, outputs and logs for debugging.
5. Publish the chat
On the Chat Input node use Open to try the chat, Link to copy a public URL, or Widget to grab an embeddable snippet for your website. Set the flow to Active so it responds around the clock.
Where to go next
- Understand every node in the catalog.
- Give your agent tools with function calling.
- Wrap the flow in a real interface with a Hive App.